
Book Shoots in 6–8 Weeks: Agency Proven Posing Practice for Models
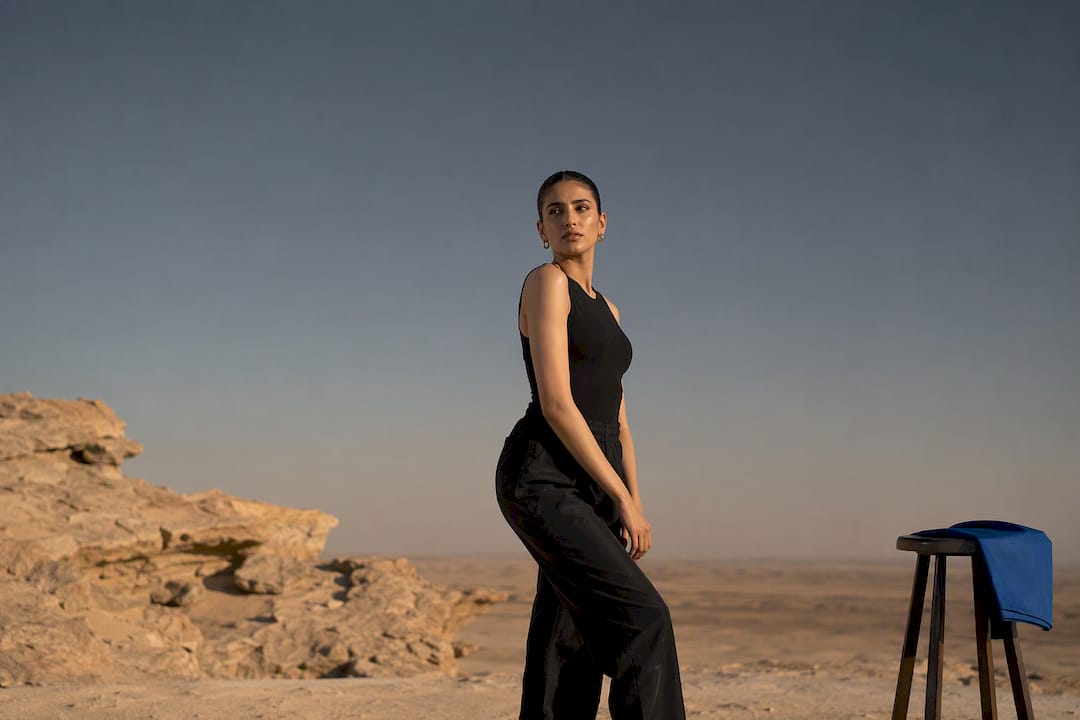
Short daily practice focused on posture, weight shifts, hands, chin, and expression moves a beginner from stiff to camera-ready faster than collecting poses on social media. Do the mirror routine below today, then commit to two short test shoots a month. Within weeks, the change shows up in your jawline, your hand placement, and how quickly a photographer stops correcting you. A talent development program, ANT Camp, built this framework around exactly that kind of repetition.
TL;DR:
- Practicing posture, weight shifts, hand placement, and facial expression daily in short routines significantly speeds up natural posing and reduces correction time during shoots.
- Structuring practice with specific cues like angling hips 30 to 45 degrees and pushing the forehead forward helps create natural, camera-ready movement.
- Consistent recording and review of short videos every two weeks track progress on jawline definition, asymmetry control, hand confidence, and fluid movement.
- On set, collaboration with photographers through quick adjustments and task-oriented hand placement minimizes shoot time and improves results.
- Agency-ready models demonstrate quick responsiveness to direction, emphasizing mechanics and adaptability over memorized poses for faster bookings.
Table of Contents
- Building a Posing Practice Guide Routine You Can Do in 15 Minutes
- How Do You Control Weight, Shoulders, Hands, and Face on Camera?
- What Does a Measurable 6 to 8 Week Practice Schedule Look Like?
- How Should You Work With a Photographer on Set?
- Fixing the Most Common Posing Mistakes Fast
- How Does Agency Training Turn Practice Into Booking Results?
- What the Research on Posing Practice Actually Supports
- Ready to Turn Practice Into a Booked Shoot?
- Sources
Building a Posing Practice Guide Routine You Can Do in 15 Minutes
Forget curated poses pulled from a feed. The models who improve the fastest treat posing as a set of trainable mechanics, the same way an athlete drills footwork before a game. Posture, expression, and body control respond to short, consistent practice, and a timed routine keeps that practice from turning into aimless mirror staring.
Here’s the full 15 to 20 minute sequence:
- Minutes 0 to 2, warm-up. Roll your shoulders back and down, take four slow breaths, and stack your spine one vertebra at a time from tailbone to crown. This resets the tension you’re carrying from the rest of your day.
- Minutes 3 to 7, stance and weight shifts. Practice the S-curve: hips angled 30 to 45 degrees from the camera, weight settled roughly 70/30 toward your back leg, front knee soft. Shift the weight slowly from one hip to the other and notice how your torso’s line changes with each shift.
- Minutes 8 to 12, hands. Run three go-to hand placements: fingers resting lightly on a collarbone, hands loosely clasped at waist height, and one hand tucked into a pocket or waistband. Keep fingers long and slightly separated, never clenched.
- Minutes 13 to 16, chin and eyes. Practice pushing your forehead slightly forward and down, which elongates the jawline without looking forced. Pair it with a squinch (a slight narrowing of the lower eyelid) instead of a wide-open stare.
- Minutes 17 to 20, record and review. Film 30 to 60 seconds of you moving through all of the above, then watch it back against a three-point checklist: is the jaw defined, are the hands relaxed, does the weight shift read as natural movement rather than a held pose.
Pro Tip: Do this routine at the same time every day, ideally when you’re already dressed and near a mirror, so it becomes a habit rather than a task you have to schedule.
How Do You Control Weight, Shoulders, Hands, and Face on Camera?
Posing isn’t about finding one flawless position. It’s about movement, angles, and responding to direction, which is why the mechanics matter more than any single pose you’ve saved to your phone.
Weight and torso. Standing square to the camera flattens your silhouette and reads as stiff in almost every shot type. Angling your hips 30 to 45 degrees and shifting weight onto your back leg creates a line the camera can actually follow, and it’s a rule photographers rely on across portfolio and portrait work alike.
Shoulders. Tension collects in the shoulders first, and it produces what trainers call turtle syndrome, where the neck disappears and the head looks jammed onto the shoulders. The fix is a repeatable cue: drop the shoulders down and back, then push the head slightly forward and down from the neck, not the chin alone.
Hands. Fingers should stay soft, never stiff or splayed. Give your hands a task, resting on fabric, holding a prop, touching your hair, so they have somewhere to go instead of hanging awkwardly. Create small triangles of negative space between your arms and torso rather than pinning elbows to your sides.
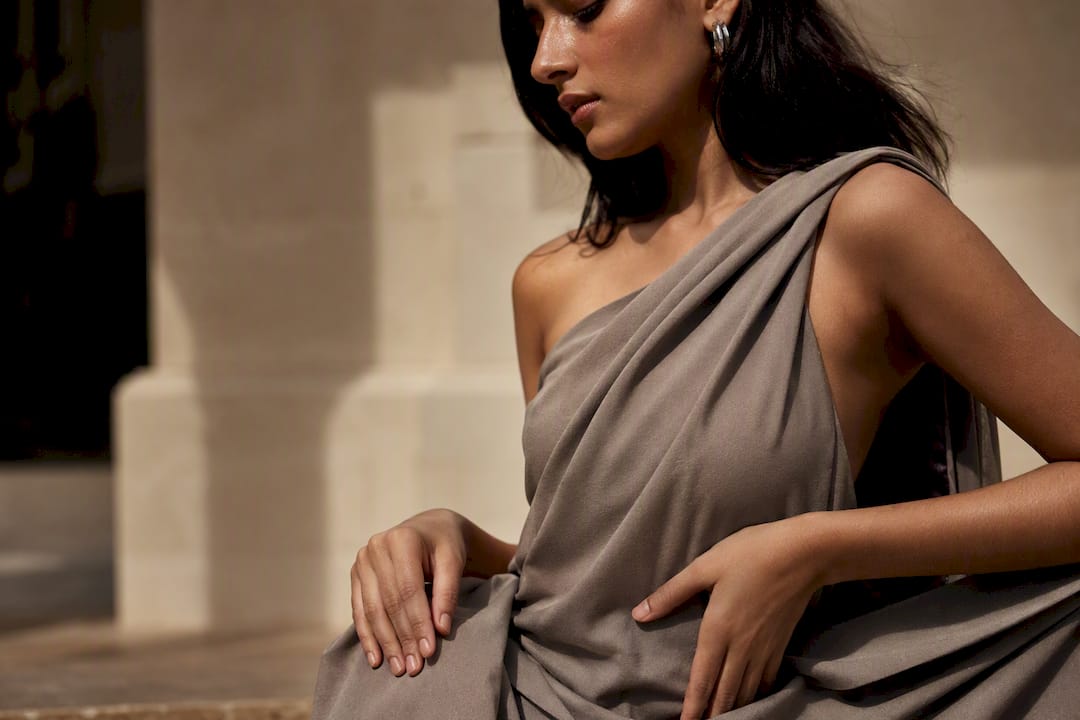
Chin and eyes. The forward-and-down chin cue elongates the jaw; a slight tongue press against the roof of the mouth keeps the jaw from clenching. Alternate between direct eye contact for commercial work, a softer editorial gaze for fashion, and a reflective, off-camera look when the brief calls for mood over connection.
What Does a Measurable 6 to 8 Week Practice Schedule Look Like?
A short daily check paired with scheduled test shoots produces measurable improvement faster than occasional, longer sessions squeezed in before a casting. The structure matters more than the total hours logged.
Weekly cadence: 15 to 20 minutes daily for micro-practice, one 45 to 60 minute session weekly for deeper work like runway walk-and-turn or editorial movement sequences, and two short test shoots per month to check progress against a camera rather than a mirror.
Track these milestones every two weeks:
- Weeks 1 to 2: jaw and neck definition improves visibly when using the forward-and-down chin cue.
- Weeks 3 to 4: asymmetry control, meaning you can hold an angled stance without one side reading tense or uneven.
- Weeks 5 to 6: hand confidence, where placements stop looking deliberate and start looking natural.
- Weeks 7 to 8: movement between frames feels fluid rather than held, and you can transition without freezing.
Test shoots should capture a consistent set of images so progress is comparable month to month.
| Shot type | What it should show |
|---|---|
| Headshot | Neutral expression, defined jaw, relaxed shoulders |
| Three-quarter | Angled hips, weight shift, hand placement |
| Full-length | Whole-body line, S-curve, footwork |
| Digitals | Simple, unstyled, proportion-revealing |
Digitals in particular should stay simple and unstyled, since agencies use them to evaluate proportions, not creative styling, when recording and reviewing your transitions. Once your two-week milestones stabilize, introduce runway drills, walk, turn, pause, or longer editorial movement sequences that string multiple poses together.
How Should You Work With a Photographer on Set?
The photographer sees angles you physically cannot, which is why on-set collaboration runs on a call-adjust-confirm cycle: they call a direction, you adjust, they confirm or correct again. Fighting that cycle by holding a fixed pose slows the shoot down and produces fewer usable frames.
A few habits speed the process up:
- Ask short, specific questions when uncertain: “How does this look from there?” or “Softer, or more intense?”
- Move continuously between frames rather than locking into one position, since hands are usually the first correction a photographer will call out.
- Request a brief pre-shoot direction call to cover mood references, the brand’s visual language, and any wardrobe or styling notes that might affect movement.
- Treat every “confirm” as permission to keep exploring small variations, not a signal to freeze.
Pro Tip: If a photographer goes quiet for more than a few frames, that’s usually your cue to shift weight or change your hand placement, silence often means they’re waiting for something new, not that you’ve nailed it.
Fixing the Most Common Posing Mistakes Fast
Most posing problems on set trace back to four repeatable issues, and each has a one-line fix you can apply mid-shoot without breaking the flow.
- Turtle syndrome: drop your shoulders down and back, then push your forehead forward and slightly down, not your chin alone.
- Frozen hands: give them an immediate task, touch your collarbone, adjust a strap, or rest against fabric, to break the stiffness.
- Flat or overly symmetrical poses: add one off-center weight shift and bend one knee to introduce depth and a natural line.
- Jaw and eye tension: release the jaw for five seconds while taking one slow breath, then reset with a soft squinch instead of a wide stare.
How Does Agency Training Turn Practice Into Booking Results?
Agencies aren’t scouting for static photogenic looks. They’re watching for body control and how quickly a model responds to direction, since that responsiveness is what separates a usable shoot from a wasted one. That’s the premise behind ANT Camp, ANT Management’s training program, which treats mirror drills as a starting point rather than the finish line.
The signal casting directors look for isn’t a perfect held pose. It’s how fast a model translates a spoken cue, “chin down,” “weight back,” “soften your hands”, into a clean, usable frame. That translation speed is what mirror practice, done daily, actually builds.
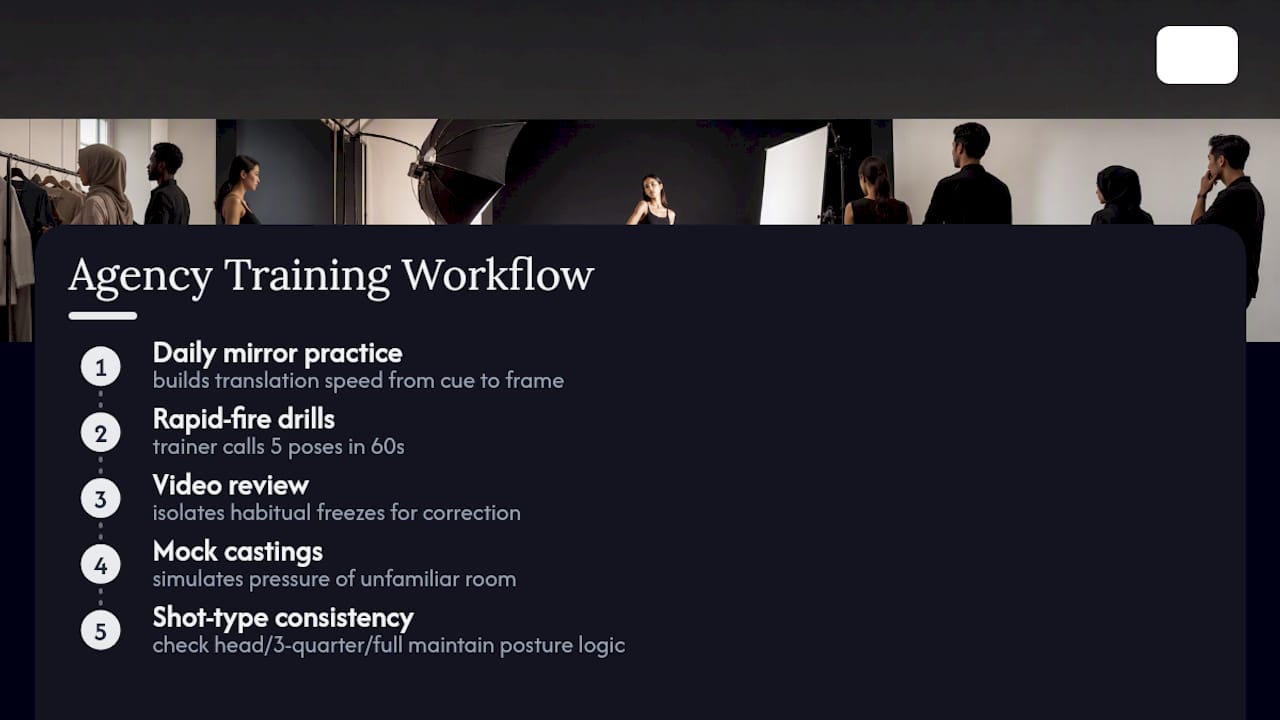
Agency-style training layers a few exercises on top of the solo routine: rapid-fire direction drills where a trainer calls five poses in sixty seconds, video review sessions that isolate habitual freezes, and mock castings that simulate the pressure of an unfamiliar room. Casting teams also watch for consistency across shot types, whether a headshot, three-quarter, and full-length all hold the same posture logic.
[Author bio placeholder] [Testimonial placeholder] [Case study placeholder]
What the Research on Posing Practice Actually Supports
The evidence across practical modeling guides points to one consistent theme: mechanics beat memorization. Models who drill weight distribution, shoulder release, and hand placement adapt to any brief, while models who memorize a handful of Instagram poses freeze the moment a photographer asks for something unfamiliar.
Conventional advice oversells the idea of a “signature pose.” A pose that works in one lighting setup, one lens, one angle, often falls apart in the next setup entirely, because it was never built on transferable mechanics in the first place. What the research actually supports is narrower and more useful: short daily practice on posture and expression, recorded and reviewed regularly, produces faster and more durable improvement than occasional long sessions chasing a perfect shot.
If you take one thing from this guide, prioritize the daily fifteen minutes over the occasional three-hour practice marathon. Consistency compounds in a way that intensity alone never does, and it’s the difference agencies notice first when they review test shoots side by side.
— ANT
Ready to Turn Practice Into a Booked Shoot?
Daily mirror drills get you camera-ready, but agency-level test shoots are what actually get you booked, and specialized training programs like the Higher Certificate in Fashion Styling can help close that gap. Through a comprehensive training program, models get structured direction drills, video review, and mock castings that mirror the pace of a real set, so the routines in this guide translate directly into usable frames when it counts.
If you’re ready to move past solo practice, apply to become a model with ANT Management and get matched with training and test-shoot opportunities suited to your market. Models and brands across the Gulf region can also explore ANT Management’s Qatar agency page for regional booking and development support. The next step is simple: submit your details and let a trainer tell you exactly where your fifteen minutes should go next.
Sources
- How to pose like a professional model — MintedModels
- How to Pose for a Model Portfolio Shoot | Premier Portraits
- Posing tips for models: body posture, facial expression, posing! – CM | Model Agency
- How to Pose for Beginner Models